Cart is empty

Use with 1" microphone calibrators to test hydrophone sensitivity or calibrate your recording system for making sound intensity level measurements in your recording environment.
For best results, use at 250Hz with auto-compensating calibrators, such as the GRAS 42AG, Norsonic NOR1256, or ROGA 4010.
When used with pistonphones, a calibration offset is required to compensate for coupler volume and barometric pressure. Many calibrators operate only at 1KHz. We measure approximately 0.5dB reduction in S1 hydrophone sensitivity due to acoustic impedance losses when testing at 1KHz.
In an effort to make these devices easily affordable and accessible to our customers, we encourage you to 3d-print your coupler. See details below.
Notes on usage:
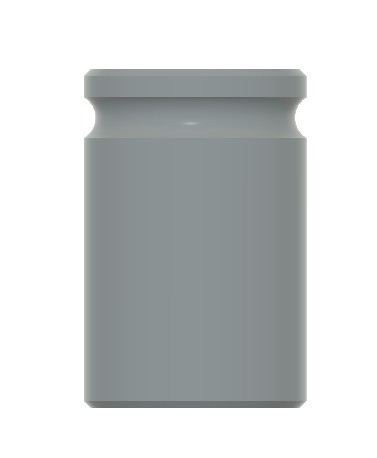
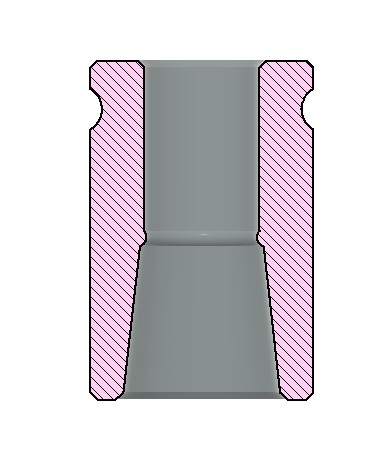
Gently insert the S1 hydrophone into the coupler until it stops. You should feel some small resistance as the rubber encapsulation on the hydrophone passes through the constriction in the middle of the coupler, but insertion should be easy and you should feel an obvious stop when the hard shell of the hydrophone body contacts the constriction. If the part becomes sticky, a thin lubricant can be applied. We recommend silicone or mineral oil if this is necessary. Use only enough to wet the surface and wipe off excess. new couplers from Aquarian are treated with a silicone coating and should not need maintenance.
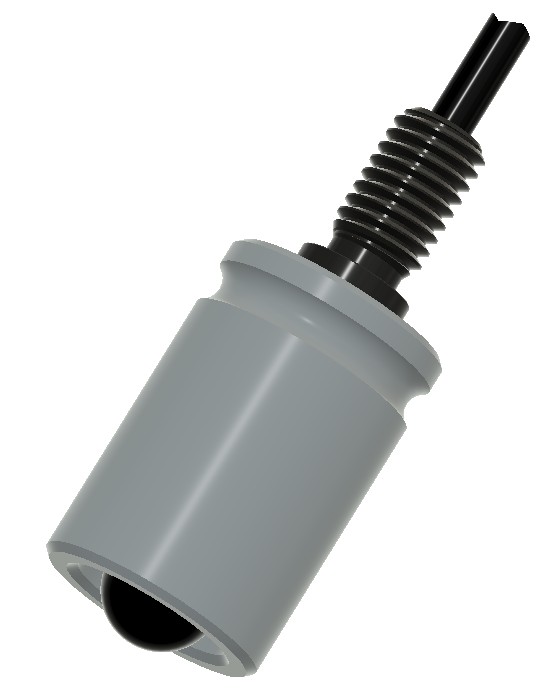
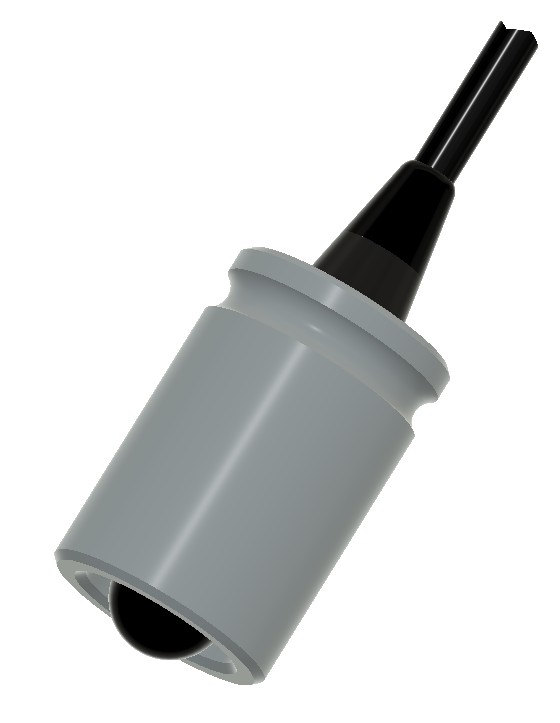
Slowly insert the coupler with hydrophone into your microphone calibrator until it stops (slow, consistent insertion protects the calibrator by allowing the pressure to dissipate.) Turn on the calibrator and read the output from your DAQ device or make a recording and note any gain applied from the recorder.
If working in decibels, note that sound in water is referenced to 1 uPa (micropascal), where as sound in air is referenced to 20uPa. This 20-times difference equates to 26dB. When your calibrator is set to 94dB, add 26dB for a total of 120dB as a reference pressure. Rephrased for clarity: When testing hydrophones, 94dB setting is really 120dB of sound intensity level (also referred to as "sound pressure level", or "spl"). 114dB setting setting is really 140dB.
Most sound analysis programs will allow you to read voltage in dB. Data acquisition systems will offer calibrated readings in dBV (dB referenced to 1 volt). You can derive the sensitivity of the hydrophone by simply subtracting the calibrator's reference level from your maximum RMS voltage reading. For example: the S1 should read approximately 100mV or -40dBv when your calibrator is set to 114dB. Remember that this is really 140dB when used for hydrophones. So -40dBV minus 140dB acoustic pressure equals -180dBV. This is your hydrophone sensitivity with the standard reference to 1uPa.
When using an audio recording device to measure sound intensity, set any gain controls as needed and do not change them. Make a sample recording while the hydrophone is in the calibrator. Then record your intended source (again, it is critical that you do not adjust gain without starting the calibration process anew). Sound editing and analysis programs will read in dB referenced to full-scale input (dBfs). This is the maximum sound level that can be recorded without distortion. When analyzing your recordings, you simply need to note the offset between the calibrator setting (adjusted for hydrophones) and the dBfs reading. For example, your sample recording is made with the calibrator set to 94dB. This equates to 120dB for sound in water. Your sound analysis program is reading -55dBfs when looking at the peak in your sample recording using spectral analysis software. Your offset is the difference between these--add 175dB to get dBsil from your recording data. If your recording then peaks at -15dBfs, your maximum SIL is 190dB during that recording session.
If working in pascals, 94dBspl in air equates to 1 pascal, so you can derive your V/Pa sensitivity simply by reading the output voltage of the hydrophone while using this setting on the calibrator.
How to make yours:
A high-resolution printer is required, but inexpensive DLP printers do a great job. In fact, if you choose to buy one from Aquarian, it will be made from a consumer-grade Mars 5 Ultra that is currently selling on Amazon for less than $300. We are presently using Siraya Tech Build gray resin, but any should work well as long as you can maintain the print quality. You can also use printing services that are available worldwide. We do not recommend using FDM printers or print services (FDM is the type that is most common among home printers, where a plastic filament is extruded into layers with heat). SLA, Polyjet and other solid HD additive manufacturing techniques should work fine.
Use this STL file to make your own.
When printing this coupler yourself, we recommend using a silicone spray or wiping a light mineral oil coating onto the coupler before use. Check tolerances of your print. It is very important that the S1 slides into the coupler easily. We do not warranty broken sensors or damage from excessive strain on the cable.